


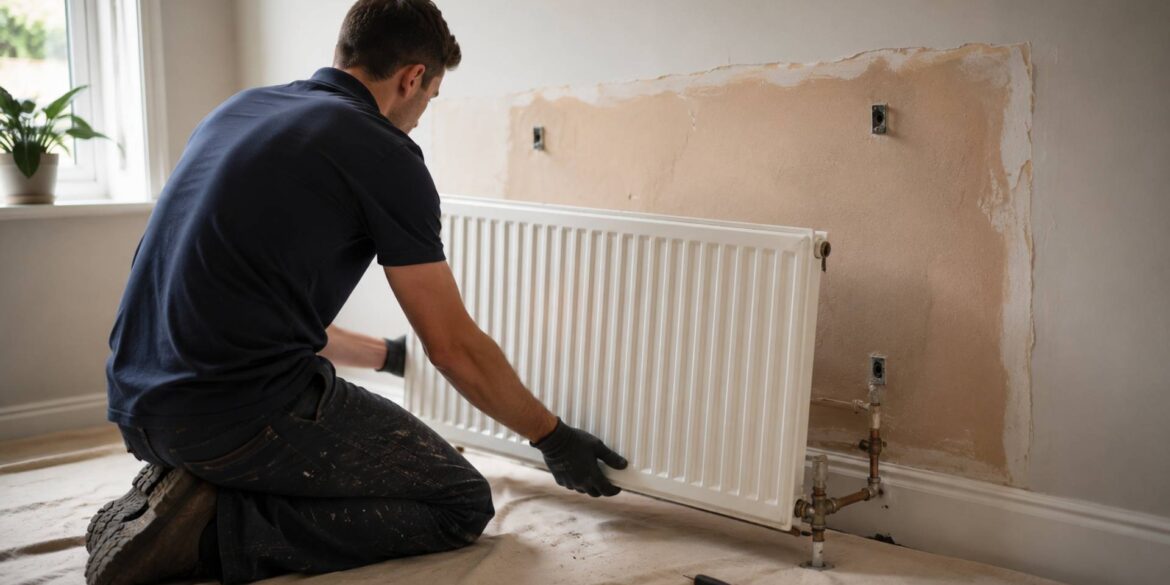
Fancy a fresh look without radiator-shaped bare patches? This practical guide shows you how to take a radiator off the wall safely for a weekend decorating project, so you can paint or paper right up to the edges and put everything back neatly.
Decorating a room often leaves awkward gaps behind radiators. Leaving them in place means patchy paint or wallpaper that shows the moment you step back. Taking the radiator off the wall for a weekend job solves the problem cleanly and gives a professional finish. With the right preparation and a clear method for how to remove a radiator, most competent DIYers can manage the task without calling a plumber. The process is straightforward once you isolate the radiator, drain it carefully and lift it clear of its brackets. Do it properly and you protect floors, avoid leaks and restore full heat when the decorating is done.
Why Remove a Radiator for Decorating?
Radiators sit close to the wall, so brushes and rollers cannot reach every surface. Vertical or column styles make the problem worse because the undecorated strip is more obvious. Removing the unit for a short period lets you work freely, then refit it once the paint or paper is fully dry. The job usually takes a couple of hours and needs only basic tools.
Tools You Will Need
Gather these items before you start:
- Adjustable spanner
- Pair of grips
- Two old towels
- Washing-up bowl or bucket
- Radiator bleed key
Lay newspapers or old sheets on the floor as extra protection. Make sure the heating system is off and the radiator is completely cold.
How to Remove a Radiator Step by Step
Follow these numbered stages carefully. Work slowly and keep a cloth handy for any drips.
- Isolate the Radiator
Close both valves by turning them fully clockwise. This isolates the radiator from the rest of the central heating system and stops water flowing in. Note how many turns each valve takes so you can return them to the same position later.
- Prepare the Area
Place towels and the bowl directly under the valves. This catches the water that will drain out and protects the floor from stains.
- Undo the Valve Nuts
Use the grips and adjustable spanner to loosen the nuts that connect the valves to the radiator. Undo them gently so the threads stay clean.
- Drain the Water
Open the bleed valve with the key, turning it anti-clockwise. Water will flow into the bowl. Once the flow slows, close the bleed valve, undo the second nut and carefully tip any remaining water out. Plug the open valve inlets with tissue if needed.
- Lift the Radiator Clear
With both connections free, lift the radiator straight up and off its wall brackets. Move it to a safe place out of the way. If it is heavy, ask someone to help.
You now have clear access to the wall. Paint or paper as planned and allow everything to dry completely before refitting.
Expert Tips for a Smooth Weekend Job
Keep the drained water away from carpets and timber floors. Never force seized nuts; a little penetrating oil and patience usually frees them. When you later learn how to remove a radiator again for maintenance or cleaning, the same sequence applies. Always leave the paint fully cured before hanging the radiator back, otherwise the finish can stick or mark.
Refitting the Radiator
Hang the radiator on the brackets, reconnect the valves and tighten the nuts securely. Open both valves fully, then bleed any trapped air. Check for leaks around the joints and top up the system pressure if required. Run the heating and confirm even warmth.
FAQs
Can I remove a radiator without draining the whole system?
Yes. Closing the valves isolates just that radiator, so the rest of the house stays full of water.
How long does the job usually take?
Most people finish removal in under two hours, leaving the rest of the weekend free for decorating.
What if the valves are stuck?
Apply penetrating oil, wait, then try again with firm but controlled pressure. Avoid excessive force that could damage the threads.
Do I need to turn the boiler off completely?
Turning the heating off and letting the radiator cool is enough. Isolation at the valves does the rest.
When should I call a professional instead?
If you have an old system, unusual pipework or simply feel unsure, a qualified plumber is the safer choice.
Taking a radiator off the wall for decorating is a manageable weekend task when you follow a clear process. Isolate the valves, drain carefully, lift the unit free and work on the wall without restriction. Once the finish is dry, refit the radiator, bleed it and restore heat. Mastering how to remove a radiator once gives you confidence for future maintenance or another room refresh. Work methodically, protect the floor and allow proper drying time. The result is a clean, professional look with no awkward unpainted strips and a heating system that performs exactly as before.